Installing a drip irrigation system can be a great idea to save both time and water. This efficient watering method conserves water and ensures that plants receive the right amount of moisture directly at their roots. So how long does it take to install a drip irrigation system? If installing a drip irrigation system, you need to determine the size of the area to be irrigated, and what type of drip irrigation system you want to use. A drip drip irrigation system can take anywhere from a few hours to a couple of days.
A simple drip system can be set up for smaller garden beds or containers in a few hours. This involves laying out the main water line, attaching the drip tubing to deliver water to individual plants, and securing the system.
Larger-scale installations covering landscaped areas may require more time and planning. In these cases, careful measurement of the area, designing the actual layout of the system, and ensuring proper water pressure and flow rates are important steps that can add to the installation timeline. Additional time may be needed if you are burying main lines and securing them in place.
Factors Affecting How Long it Takes to Install a Drip Irrigation System
The factors that can affect how long it takes to install a drip irrigation system may include:
- The terrain where you are installing it
- Your soil type
- Presence of rocks or tree roots that you may encounter
- The experience of the person installing the system
Addressing these challenges may involve digging trenches, installing pressure regulators and filters, and troubleshooting any issues that come up.
It’s important to ensure that you provide enough irrigation for all plants evenly. Testing is required for a while to ensure that your system is performing as it should and that any modifications are made.
Frontier Landscaping provides expert irrigation services, including sprinkler and irrigation system repair and installation of new systems as well as updates to existing ones. An irrigation system can help you to banish the endless task of watering by hand. At Frontier Landscaping, we design and install a wide variety of systems for a broad range of landscapes. Give us a call today for a free estimate!
We’ve had a pretty dry year here in the Portland-Vancouver area. Here at Frontier, we are taking steps to save water and we recommend that you do the same. Here are our Top 10 Tips for saving water this summer.

- Water when it’s cool
Save your watering chores for the evening or early morning. This reduces evaporation dramatically and helps plants stay more hydrated for longer. It also prevents any leaf burn that can happen when water droplets on foliage reflect sunlight.
- Only water at the roots
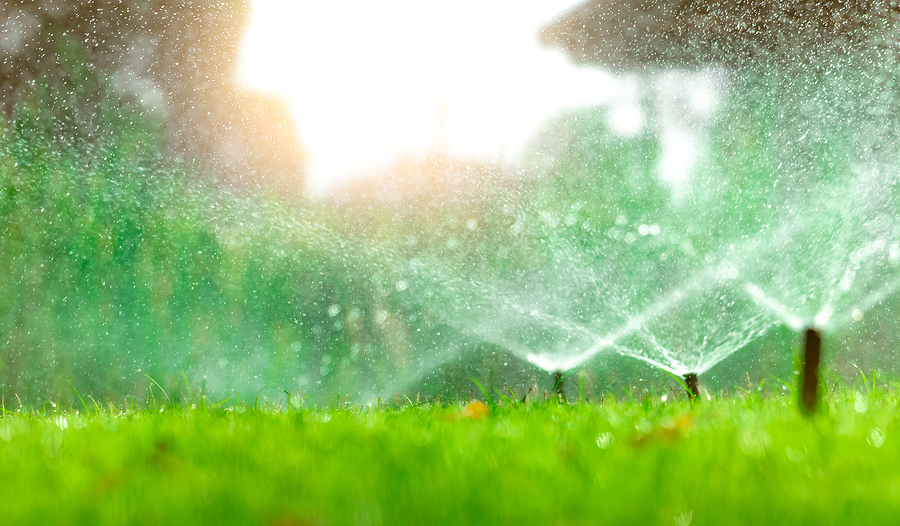
Keep your hose or sprinklers close to the ground. Plants drink water through their roots so there is no reason to ever water their foliage. By only adding water at the soil line, you will reduce waste via evaporation and increase water intake.
- Add mulch to planting beds
Mulch (in the form of bark chips, straw or yard clippings) will do wonders for saving water. Apply a thick layer of mulch to planting beds and around trees to keep them cool and lock in moisture. It slows evaporation and insulates against high temperatures. With the added bonus of keeping the weeds down!
- Keep your grass a little longer
The next time you cut your grass (or have it cut), consider raising the blade a bit. Keeping your grass a little longer will help preserve moisture and allow your water to go farther. Keep it long to keep it green!

- Water Deeply
Plants benefit the most from long, deep watering that are less frequent. We recommend watering most plants once or twice a week. New plants might need more but most established plants do well with that schedule. It even helps them by encouraging deeper root growth!
- Install Smart Irrigation
Irrigation has come a long way! Now you can go well beyond just a timer. Smart controllers have sensors that adjust for the weather and surrounding conditions to make sure plants only get water when they need it. Contact Frontier to talk about irrigation options.
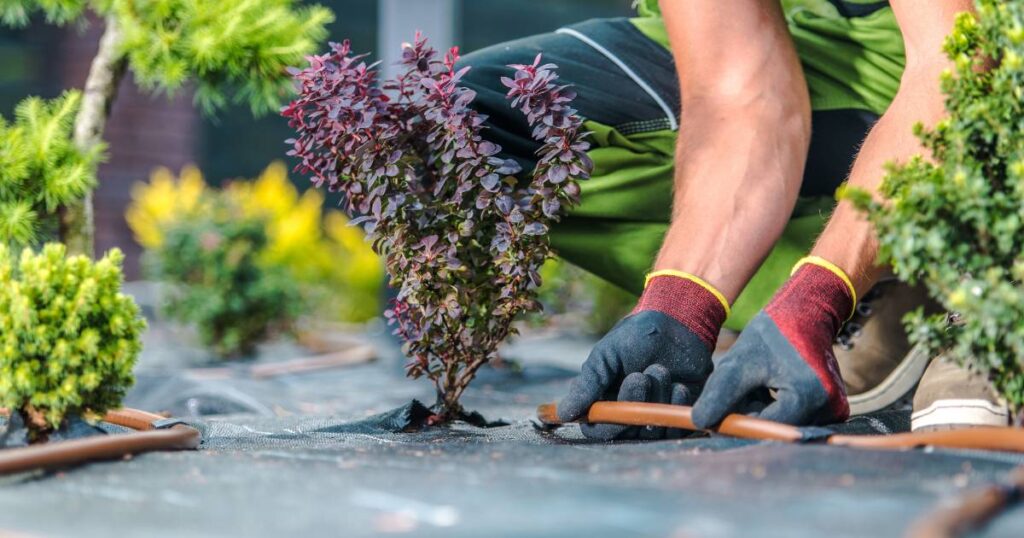
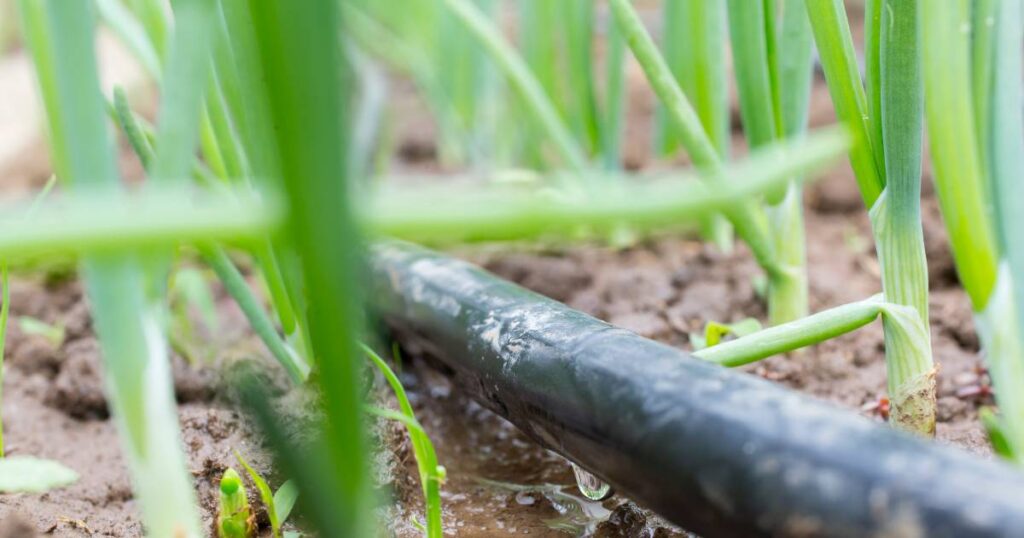
- Consider drip irrigation
Drip irrigation consists of hoses (drip tape), with small holes at intervals, that lay right on the ground. The water drips out slowly onto the soil. This is a very efficient way to water plants because the water goes directly where it is needed.
- Water Twice a Week
We recommend watering no more than twice a week for lawns and established plants. The key is to water deeply each time. Lawns, trees, shrubs and established plants all do well with biweekly watering. Note: Areas with clay, sand, sloping yards etc may change how you can water your lawn and plants.
- Keep it Clean without Water
Avoid using water to clean off driveways and sidewalks. Use a blower or broom to save water and keep your spaces clean and clear. If you need a helping hand, the Frontier Maintenance team is ready!
- Amend your soil
Healthy, nutritious soil will hold water in proper amounts. If you have too much sand or (more likely) too much clay, plants can struggle to form healthy roots that take up the right amount of water. By adding compost and other amendments to your soil, you can increase the efficiency of your plants’ water intake.
Need more help with your landscape? Contact us today.